Transform Your Home with Professional Interior Painting Tips

Your home is your canvas, and the right interior paint job can totally change the whole vibe of your space. Whether you're looking to refresh a single room or tackle a full home makeover, learning how professional painters work will help you get that crisp, polished look that makes all the difference. From picking the right tools to rolling paint like you've been doing it for years, these tips will save you time, money, and a whole lot of headaches while getting results that'll have your neighbors asking who hooked you up.
Key Takeaways
- Prep work is where the magic happens - Pro painters spend about 85% of their time prepping, including sanding, filling holes, and cleaning surfaces
- Good tools are worth every penny - Nice brushes, rollers, and painter's tape give you smoother finishes and way better coverage
- Paint quality makes or breaks your project - Better paints with good coverage save you time and last way longer
- Technique keeps you from messing up - The right rolling patterns and keeping edges wet stop those ugly lap marks and streaks
- Your environment matters - Temperature, humidity, and lighting all change how your paint goes on and dries
- Paint in the right order - Trim first, then ceilings, then walls - this flow makes everything easier
Essential Preparation: The Foundation of Great Results
The difference between a paint job that looks like you did it yourself (and not in a good way) and one that looks professional starts way before you crack open that first can of paint. Pro painters spend most of their time getting ready to paint, and there's a good reason for that.
Hardware Removal
- Take everything off the walls - Remove doorknobs, light switch covers, outlet plates, and window hardware
- Create a labeling system - Tape screws to each piece and write down where they go
- Keep everything organized - Future you will be grateful when reinstalling
Surface Inspection and Repair
- Fill small imperfections - Use ready-mix spackle for drywall nail holes and small dents
- Handle trim separately - Grab wood filler for any dings in trim pieces
- Tackle bigger issues - Use joint compound with mesh tape for wide cracks and flexible patching compound for smaller ones
The Sanding Process
- Walls need attention - Use a pole sander with 120-grit paper for smooth wall surfaces
- Detail work matters - Switch to 220-grit for trim, moldings, doors, and windows
- Safety first - Test for lead if working on older paint
- Clean thoroughly - Vacuum with a HEPA filter and wipe down with a damp rag
Final Prep Steps: Don't forget caulking gaps around trim. Cut your caulk tube tip small, run a neat bead, and smooth it with a wet finger. This makes everything look finished.
Choosing Your Tools and Materials
Good tools don't just make painting easier; they make your results look way better. It's like cooking with a sharp knife versus a butter knife.
Essential Brushes and Rollers
- Quality brushes are non-negotiable - Get high-quality synthetic bristle brushes for clean lines and better paint holding
- Size matters for cutting in - A 2 to 2.5-inch angled brush works best for edges and detail work
- Standard rollers for most jobs - Use 9-inch rollers with 3/8-inch nap covers for regular walls
- Upgrade for big projects - Consider 18-inch roller systems for multiple rooms (they're heavier but much faster)
Paint Selection That Makes Sense
Quality paint brands to consider:
- Behr - Great for DIY projects, widely available at Home Depot
- Sherwin-Williams - Professional-grade quality, excellent durability
- Benjamin Moore - Premium option with rich pigments and smooth application
Choosing the Right Finish
- Eggshell for most rooms - Perfect balance of durability and appearance
- Flat for imperfect walls - Hides flaws better than higher-sheen finishes
- Plan for coverage needs - Dark to light colors usually need primer plus two coats
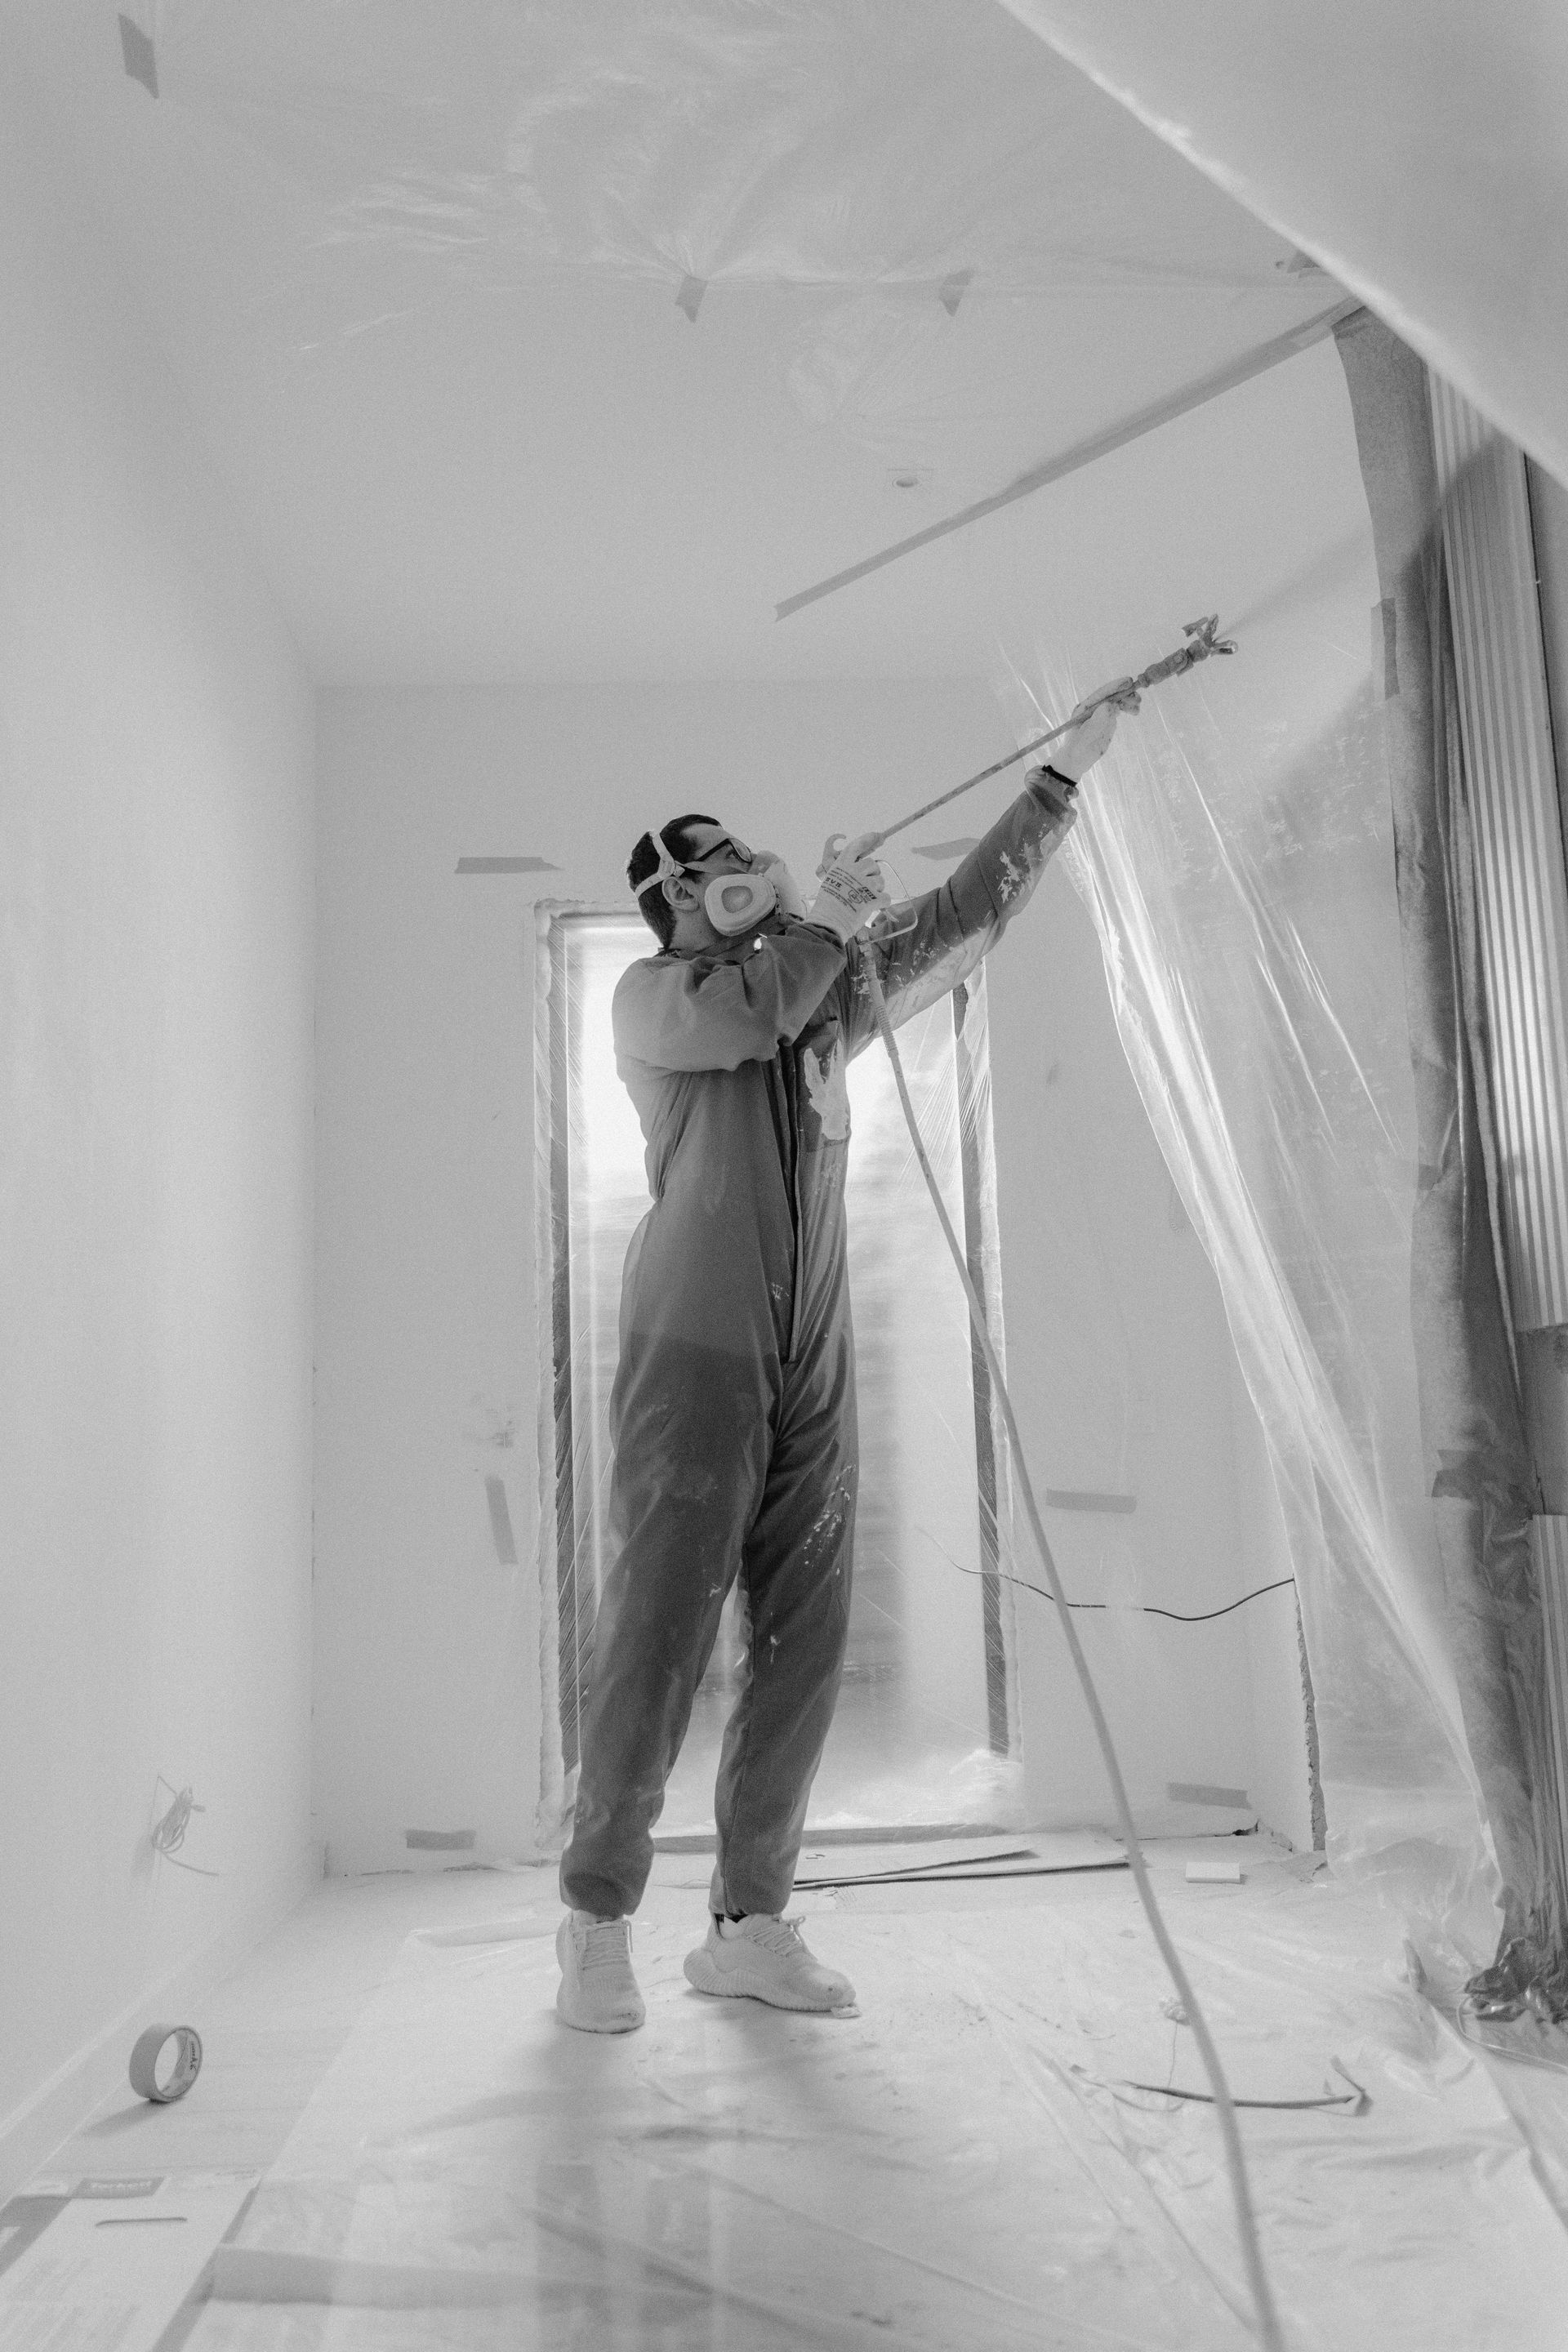
Surface Protection and Masking That Actually Works
Smart painters know that spending time protecting stuff saves hours of cleanup later and keeps you from having to explain paint on the floors.
Floor and Surface Protection
- Skip cheap plastic sheeting - It slides around and tears easily
- Use canvas drop cloths with plastic backing - They stay put and actually catch spills
- Cover everything that matters - Better to over-protect than spend hours scraping paint later
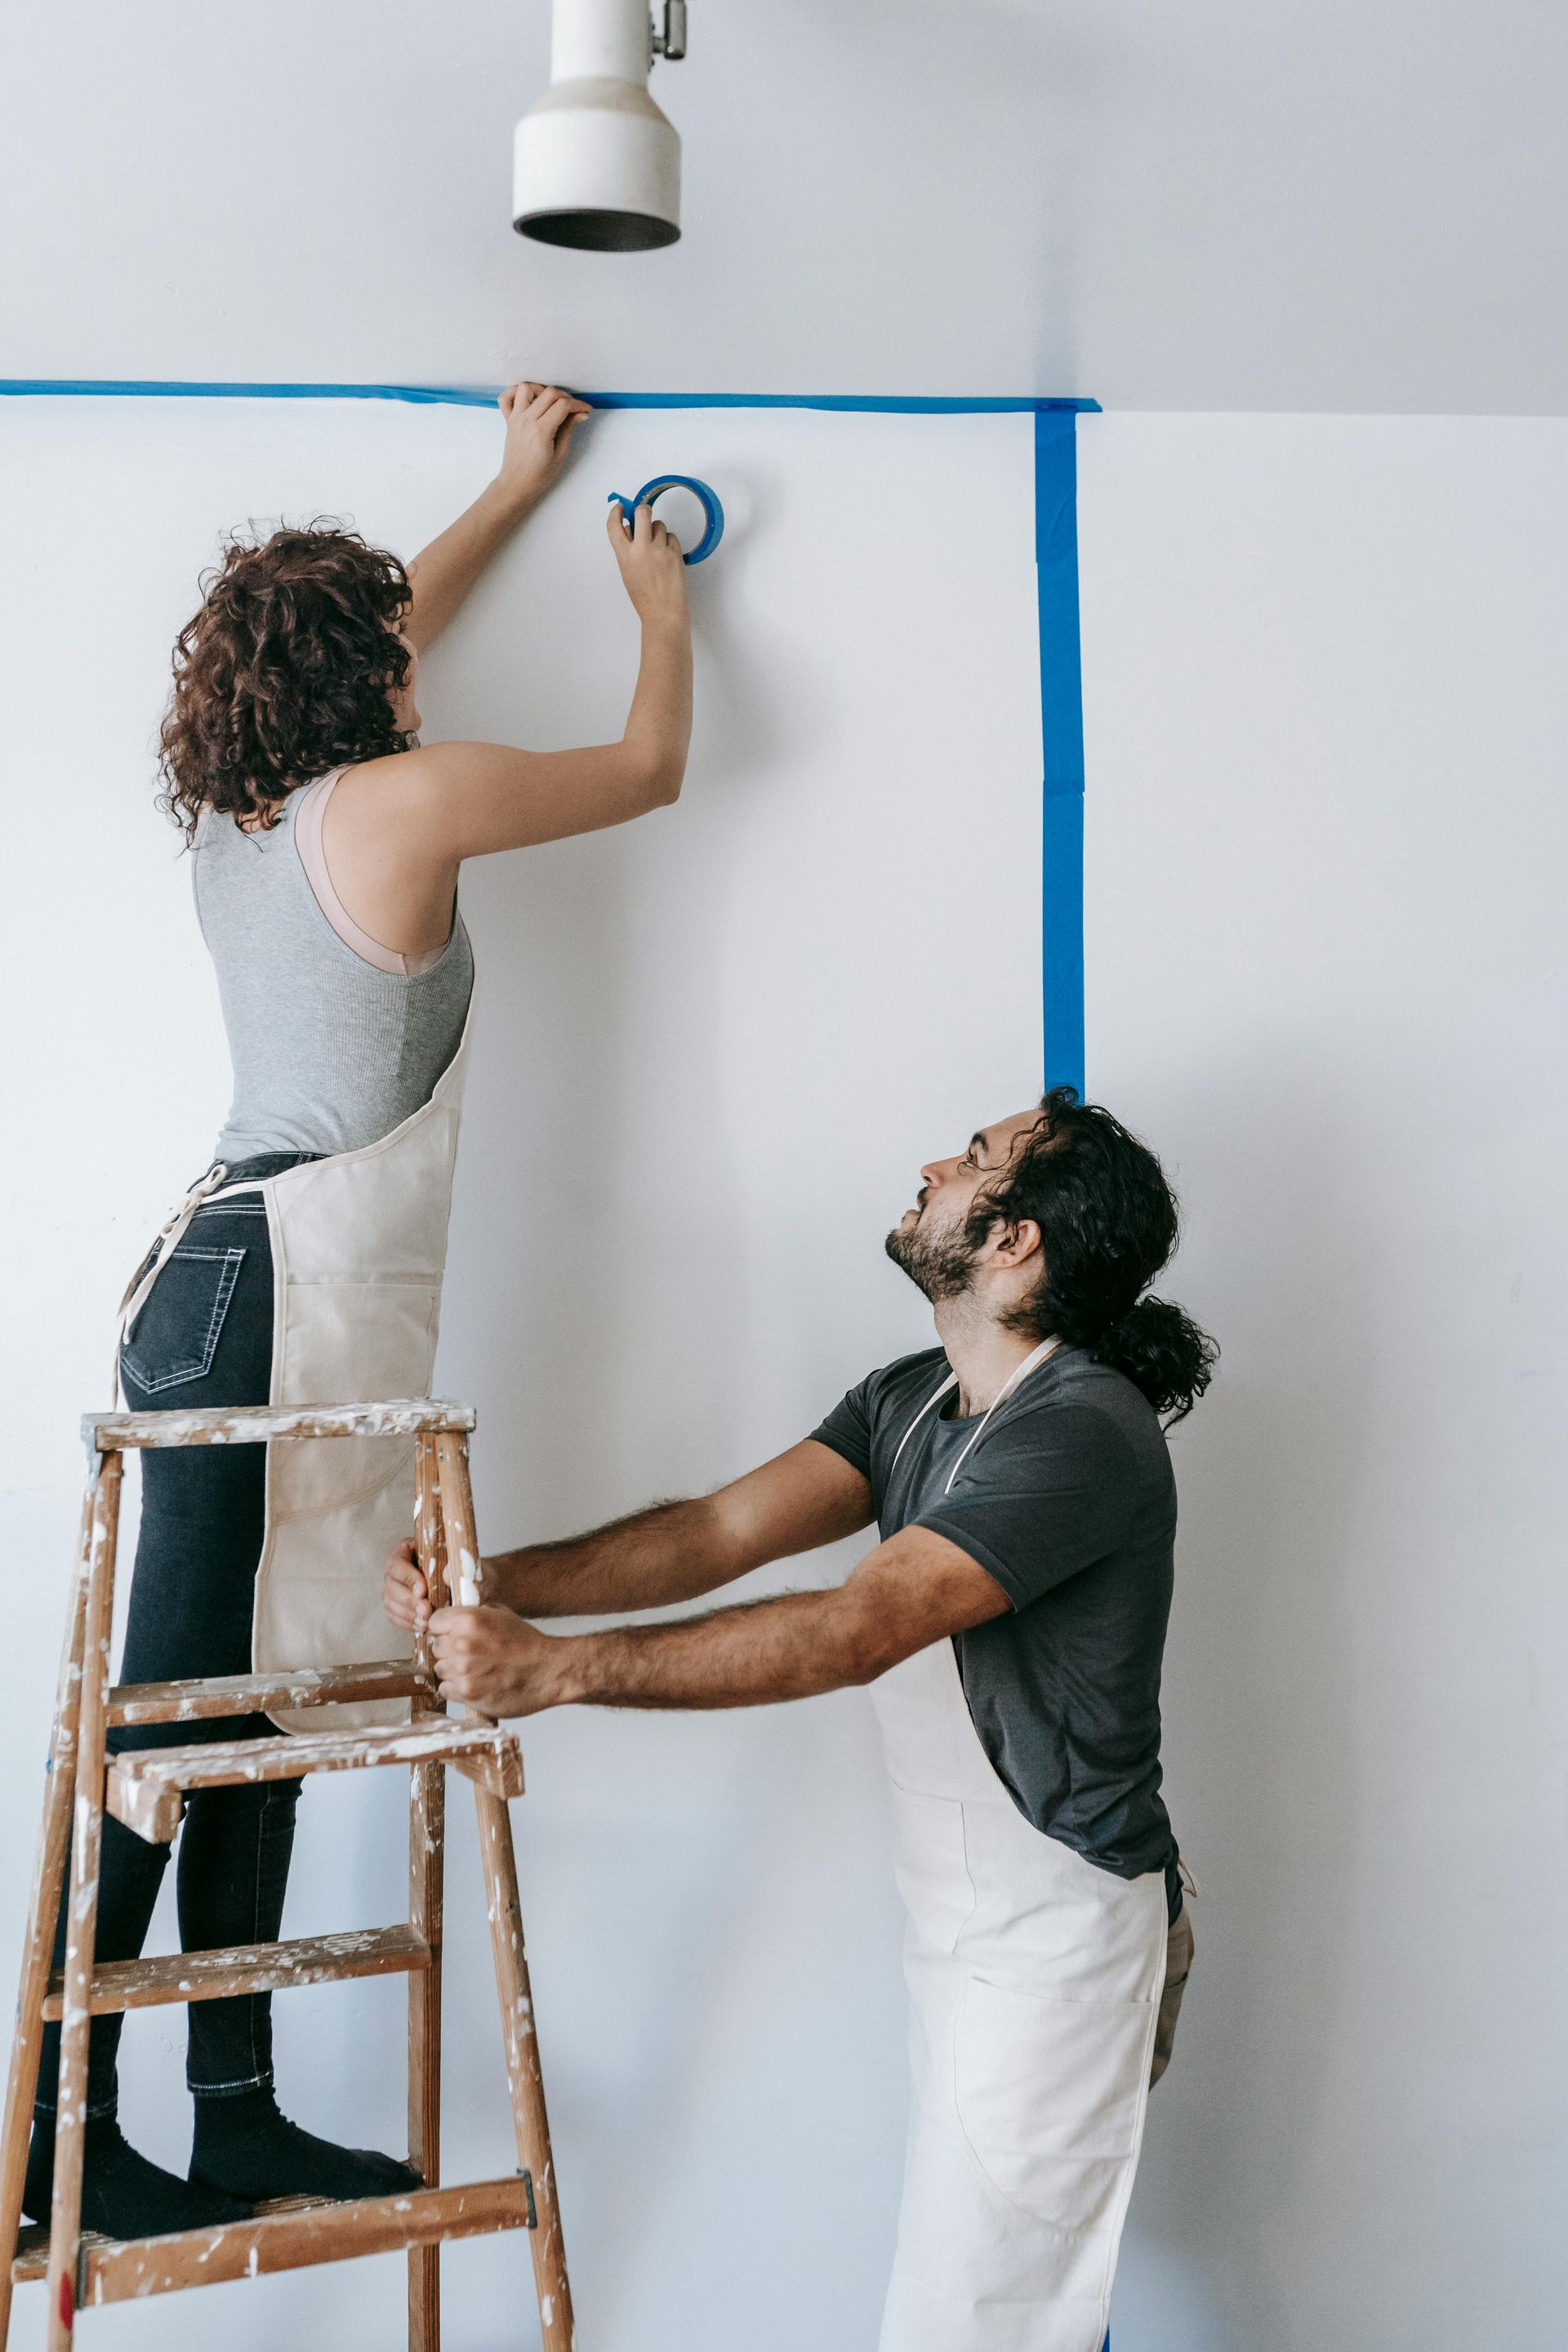
Masking Tape Techniques
- Blue painter's tape only - Regular masking tape leaves sticky residue that's harder to clean than paint
- Press edges down firmly - Use a putty knife to burnish tape edges and prevent bleed-through
- Try the curtain trick - Run tape along baseboards, but let it hang down to catch roller splatter
Remember, even with tape, you still want neat lines. The tape is insurance, not a free pass to be sloppy.
Application Techniques That Actually Work
Getting Those Clean Cut Lines
- Load brush properly - Get enough paint, but not so much that it's dripping
- Maintain steady pressure - Draw consistent lines along ceilings and trim
- Work in complete sections - Cut in one full wall, then roll it before moving on
Rolling Without the Drama
The W Pattern Method
- Start with a zigzag - Roll paint in a big W shape across your section
- Fill in the pattern - Roll over the W to spread paint evenly
- Keep sections manageable - Work in 3-4 foot areas for best control
Professional Rolling Tips
- Load roller properly - Keep it well-loaded but not dripping
- Use the spin technique - Give the roller a slow spin as you bring it to the wall to prevent drips
- Maintain wet edges - Don't let sections dry before connecting them
Keeping Paint Flowing Right
Paint extenders slow down drying time, giving you more time to work and eliminating brush marks and lap marks. It's like magic for painting mistakes.
Paint Order and Timing That Makes Sense
Here's the order that actually works: trim first, ceiling second, walls last. Sounds backwards, right? But there's method to this madness.
The Right Sequence
- Trim comes first - Focus on getting it smooth, don't worry about wall splatter
- Wait for proper drying - Let the trim paint dry 24 hours before taping it off
- Ceiling next - If you're painting it, do this before walls
- Walls finish the job - Complete one full wall (cut and roll) before starting the next
Smart Work Habits
- Complete full sections - Finish cutting in and rolling each wall completely
- Keep paint fresh - Cover containers with a damp towel when switching tools
- Plan your breaks - Natural stopping points help maintain wet edges
Avoiding the Common Paint Fails
Preventing Lap Marks
- What they are - Ugly stripes that show up when you paint over areas that have started to dry
- How to avoid them - Keep a "wet edge" by starting in corners and working systematically
- Rolling technique - Work up and down the full wall height, moving slightly with each pass
- Reload frequently - Don't let your roller get too dry
Fixing the Flashing Problem
- What causes it - Patched spots look different because fillers absorb paint differently
- The solution - Spot-prime every single patch with good primer before the finish coat
- Why it matters - Takes an extra step but prevents uneven appearance
Weather Considerations
Avoid painting on humid days, as you'll get drips and slow drying. If you must paint when humid, work slowly and use the extra drying time to fix mistakes.
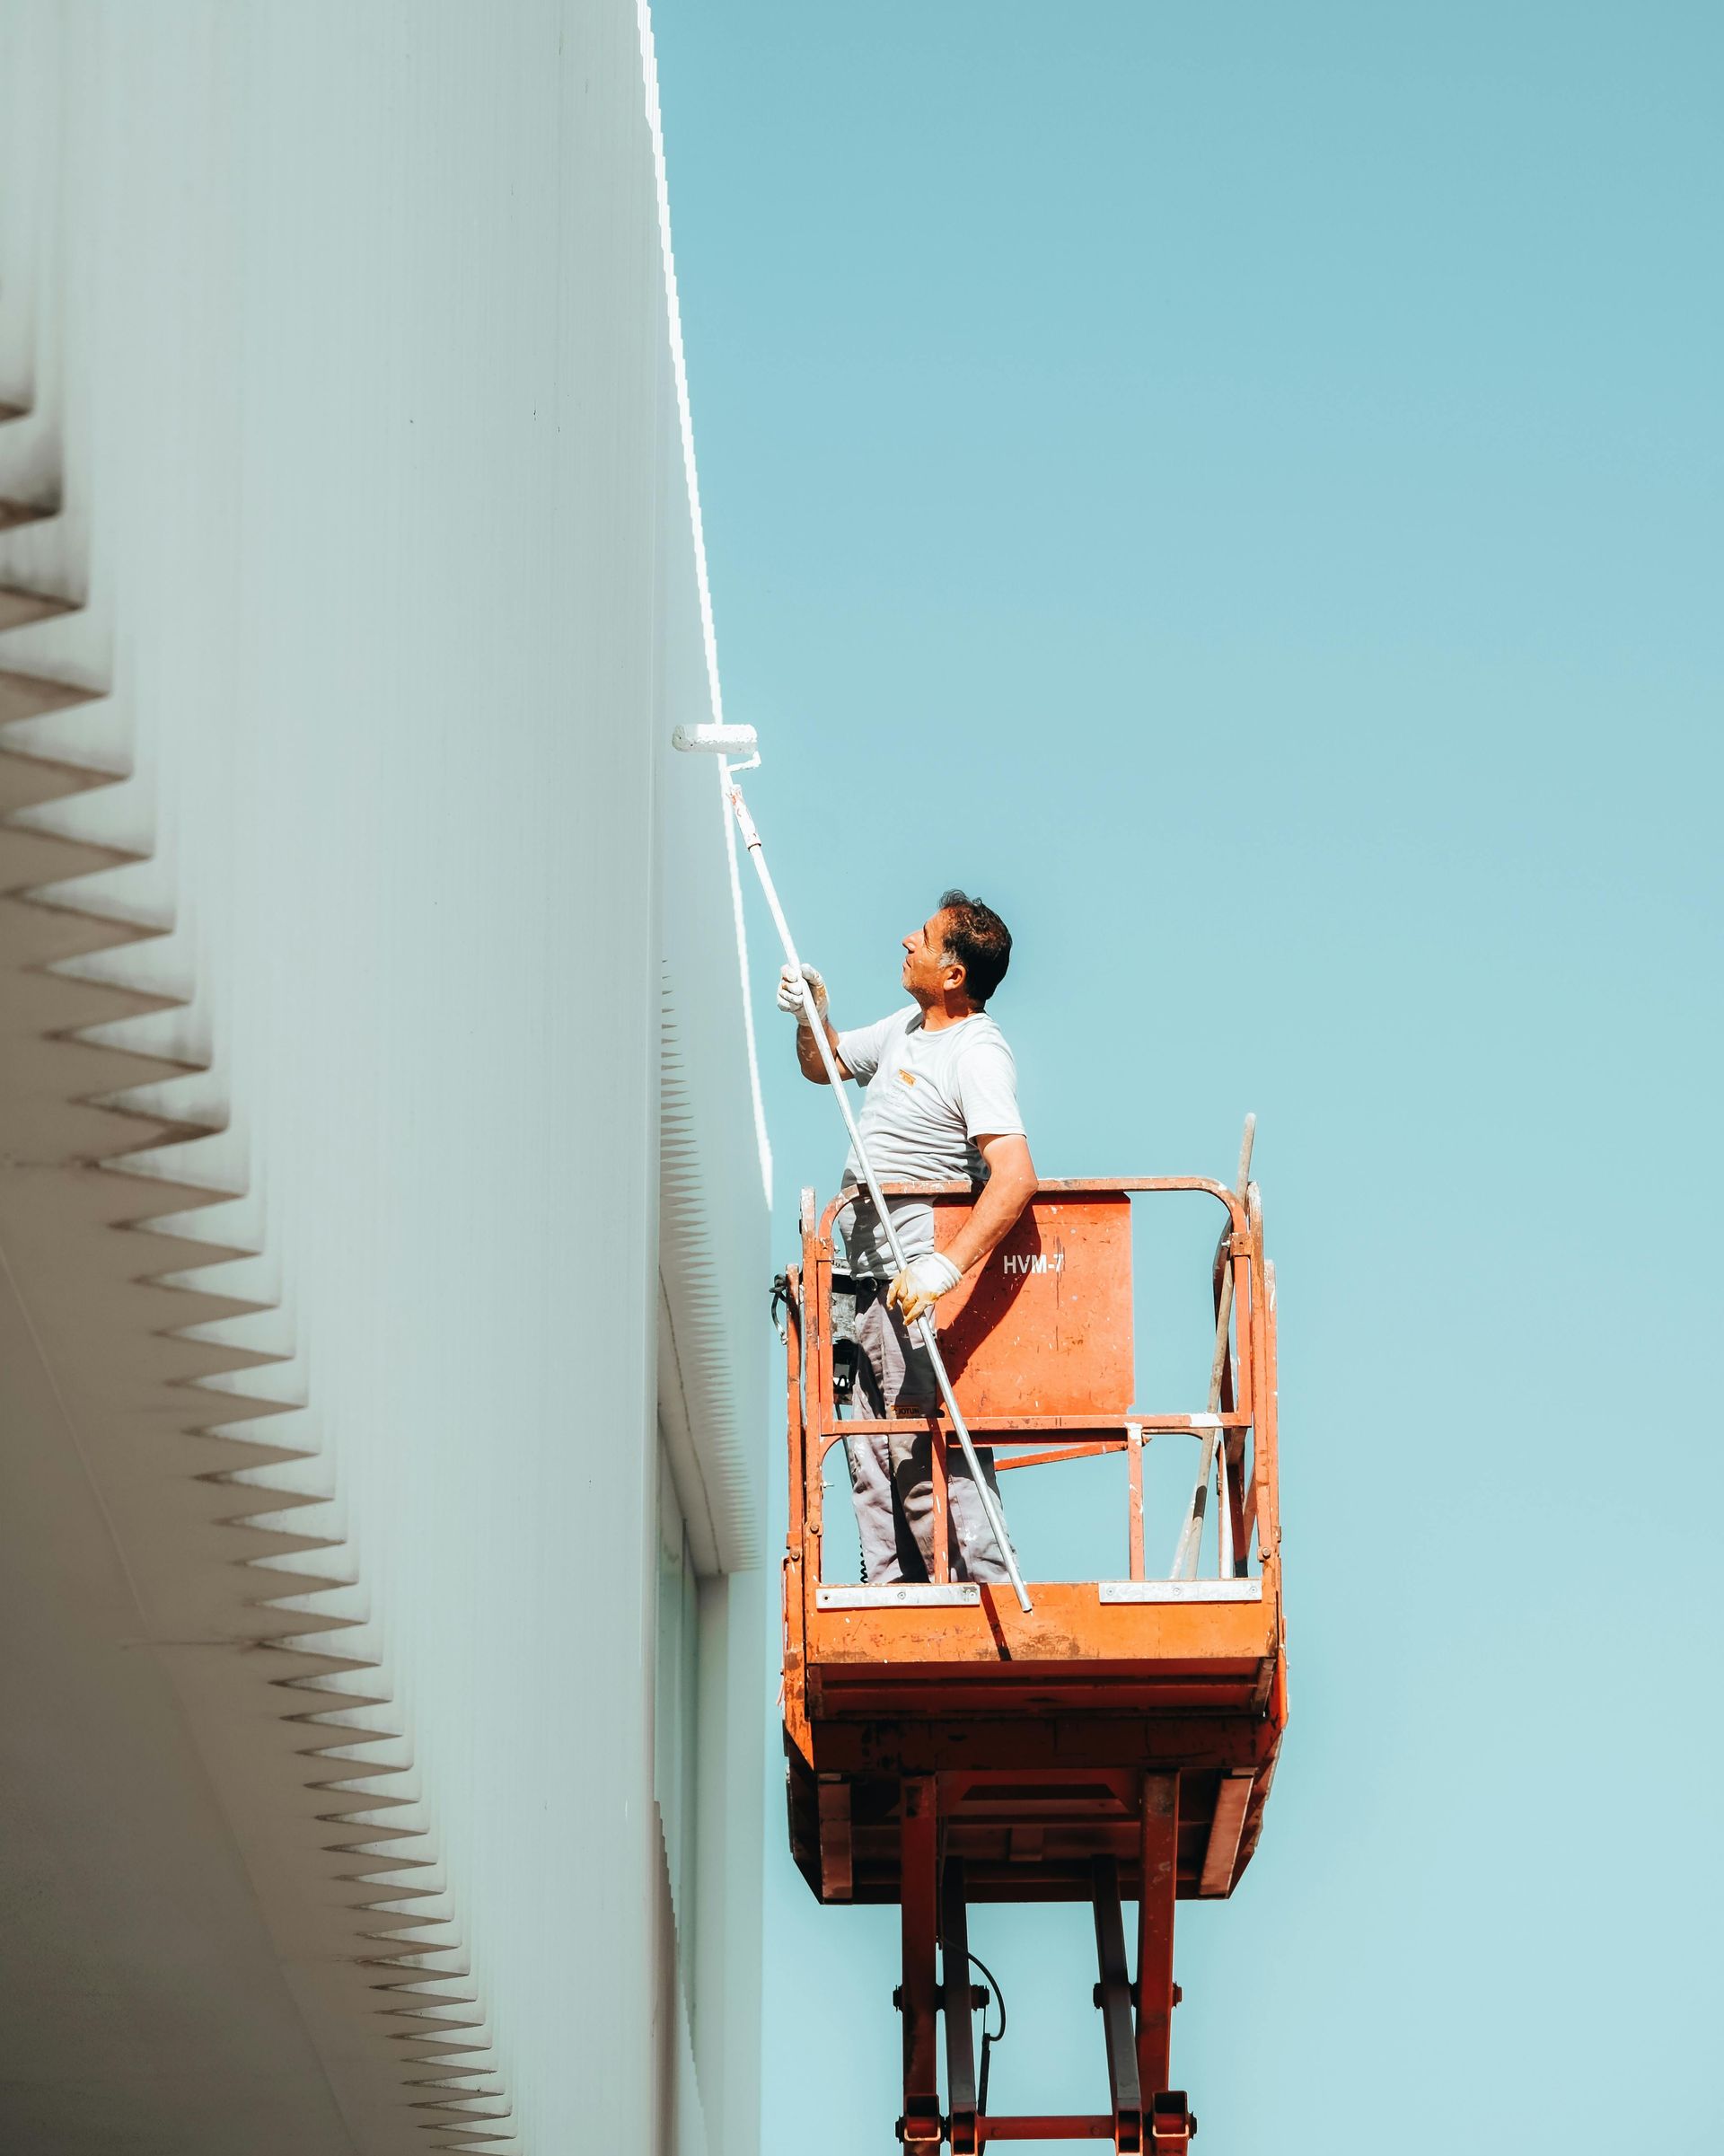
When to Call in the Pros
Sometimes you need to call in the cavalry. Multiple rooms, high ceilings, or textured walls might be the time to find experienced house interior painters in your area.
Professional interior paint contractors bring the right equipment, experience, and speed. They can often finish big jobs faster and cleaner than weekend warriors. When you factor in your time, hiring pros sometimes saves money.
Look for licensed, insured contractors who show you recent work. Good contractors give detailed estimates and won't pressure you. In Georgia markets like Buford, Norcross, and Grayson, established companies handle everything from prep to cleanup.
The best part? Most pros guarantee their work. If something doesn't look right, they'll fix it.
Color Selection and Design Considerations
Picking colors is fun but can be stressful. Here's how to make smart choices you'll still love later.
| Room Type | Recommended Finish | Color Considerations |
|---|---|---|
| Living Areas | Eggshell/Satin | Neutral bases with accent walls |
| Bedrooms | Eggshell/Flat | Calming tones, avoid bright colors |
| Kitchens/Baths | Semi-gloss/Satin | Light colors, easy-to-clean finishes |
| High-Traffic Areas | Satin/Semi-gloss | Durable colors, scuff-resistant |
Light changes everything with paint colors. That gorgeous blue from the store might look totally different in your room. Always test large sample patches (2x2 feet) directly on your wall and look at them throughout the day. Live with samples for a few days.
Think about your existing furniture too. Take pictures of your space and paint samples. Sometimes, the camera shows you things your eyes miss.
Maintenance and Touch-Up Strategies
Keep your paint job looking fresh longer by dealing with scuffs and marks right away. Use gentle cleaning with the right cleaner for your paint finish.
Save leftover paint from every room. Store it in a cool, dry place and label it with the room name and date. Keep a record of exact paint colors and brands: you'll need this later.
For touch-ups, use the same method as the original job. If you rolled it, roll the touch-up. Feather the edges so repairs blend in with the surrounding areas.
Frequently Asked Questions
How long should I wait between primer and paint coats?
Most primers require 2-4 hours drying time before applying paint, though humid conditions may extend this. Always check manufacturer recommendations for specific products.
Can I paint over existing paint without a primer?
You can skip primer when painting similar colors over existing paint in good condition. However, primer is essential for new drywall, dramatic color changes, or damaged surfaces.
What's the best way to clean brushes and rollers?
For water-based paints, rinse immediately with warm water until the water runs clear. For oil-based paints, use mineral spirits followed by soap and water cleaning.
How do I prevent brush marks in my finish?
Use high-quality brushes, don't overwork the paint, and maintain proper paint consistency. Paint extenders can also help minimize brush marks by slowing drying time.
Should I remove painter's tape while the paint is wet or dry?
Remove painter's tape while the paint is slightly tacky but not completely dry, usually within 1-2 hours of application. This prevents peeling dried paint when removing tape.
Final Thoughts
Getting a paint job that looks like the pros did it really comes down to taking your time with prep, using decent materials, and not rushing through the actual painting. Yeah, it takes longer than you think it will (it always does), but the difference in how your space feels when you're done makes all that work worth it. Whether you decide to tackle this yourself or bring in professional interior painters, knowing what goes into a good paint job helps you get the results you're actually excited to live with. And here's the thing: spending a little more upfront on good brushes, quality paint, and the right supplies usually pays off with easier painting, better coverage, and a finish that still looks great years later.
Ready to transform your home with professional interior painting? Contact the experienced team at Express Painting & Remodeling for expert residential painting services in the Atlanta area.
Reference:
https://foyr.com/learn/how-does-lighting-affect-paint-color
Share this article